The Atlanta Film Yard Sale – Year 2!

Last year, a group of three camera department women got together to plan a simple yard sale — that ballooned into the event of the year. Those women were Erin Zellers, Tina Somphone and myself. And we had to go bigger and better this year.

I wrote about the first one here: https://bridgetlamonica.com/2024/09/11/the-atlanta-film-yard-sale-and-building-a-film-community/

Being a filmmaker doesn’t mean you are an artist on an island, creating alone. Film production is the ultimate group project. (sorry kids in high school, you still have to get along with other people!) Just as you would make a film with a group of dedicated people, the yard sale event comes together thanks to a wide network of people, from the three organizers, to the volunteers, to the sponsors, to the vendors and the attendees.

There was a lot of well-intentioned pressure from Year 1 to keep going. We didn’t even finish having the event last year before people were asking us when we would do it again. “Twice a year?” some people suggested. We all turned pale. “Once a year is fine” we assured them.

As 2025 dawned, we got to work.

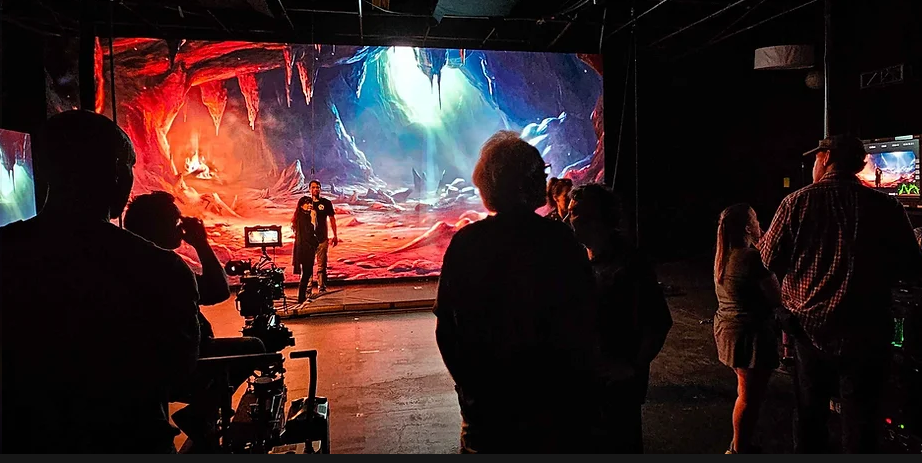
Looking at what we got right and what needed work last year, we started figuring things out. One biggie was that we needed more space. We absolutely packed 24ATL last year, the LED Volume Studio in Doraville GA. It was a great space (and that wall is super cool, you should really check it out) but we ended up shortchanging people on space and didnt’ want to do that again.

Plus the need was simply greater this year. I know I haven’t discussed it on the blog much but I have talked endlessly about this to folks in person. The film industry is not in a great place right now. People are making the decision to either transition out of the industry entirely, or are holding on with their fingertips and hoping things will pick up work-wise. For this reason, there’s a number of people who just need to make some money or want to transition their business to something else. We had plenty of people who wanted to sell at the event.

Our sponsors this year made it possible to get any further. You can’t host an event without money to organize it.

Tier 2 Sponsors

You can see Local 600’s writeup about the event here.

Tier 1

Yes, we had a lot of sponsors! They donated money, prizes for the drawing, and more. We also had a surprise bonus drawing prize from Panavision! Super awesome.

PC&E (Production Consultants & Equipment) became our venue for the event. Not only do they rent out a lot of film gear in the local film industry here, they also have an enormous sound stage that we would end up filling. And then some.

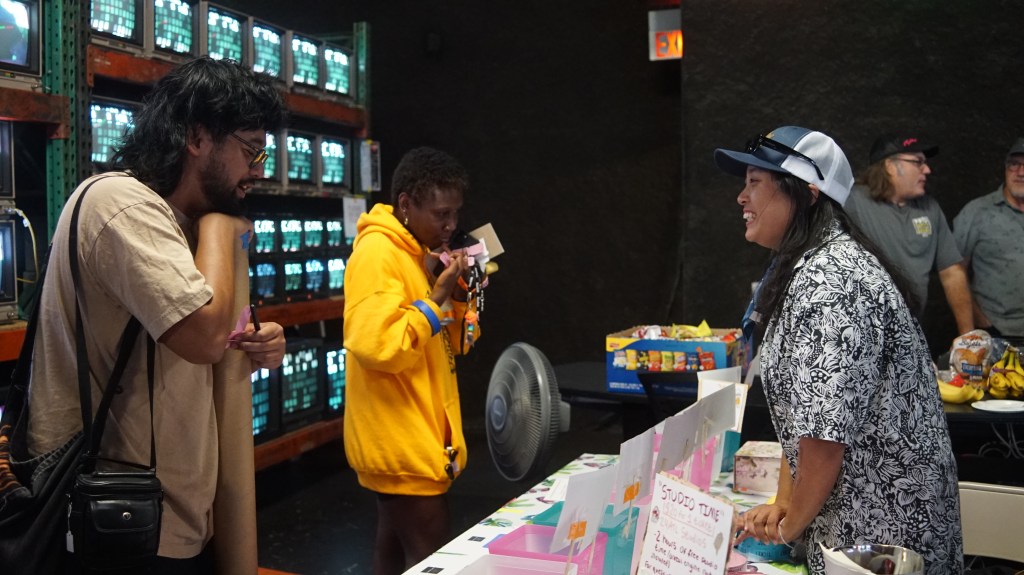
We filled every available space, from the entirety of Stage 1’s 9400 sq ft to the staging area leading to it and the outside. We had people everywhere! Plus food trucks. Plus activities like a scavenger hunt.

This year we were able to raise money for a cause that’s near and dear to a lot of members of the film industry, the Sarah Jones Film Foundation. The foundation honors the memory of 27 year old camera assistant Sarah Jones, who tragically lost her life in February 2014 due to an accident on the set of Midnight Rider. The foundation provides education and awareness, film safety grants, and even a wonderful film internship program. You can learn more about the foundation here.

Thanks to our donated items, our drawing prizes, our vendors and sponsors, we were able to raise $2500 for the foundation.

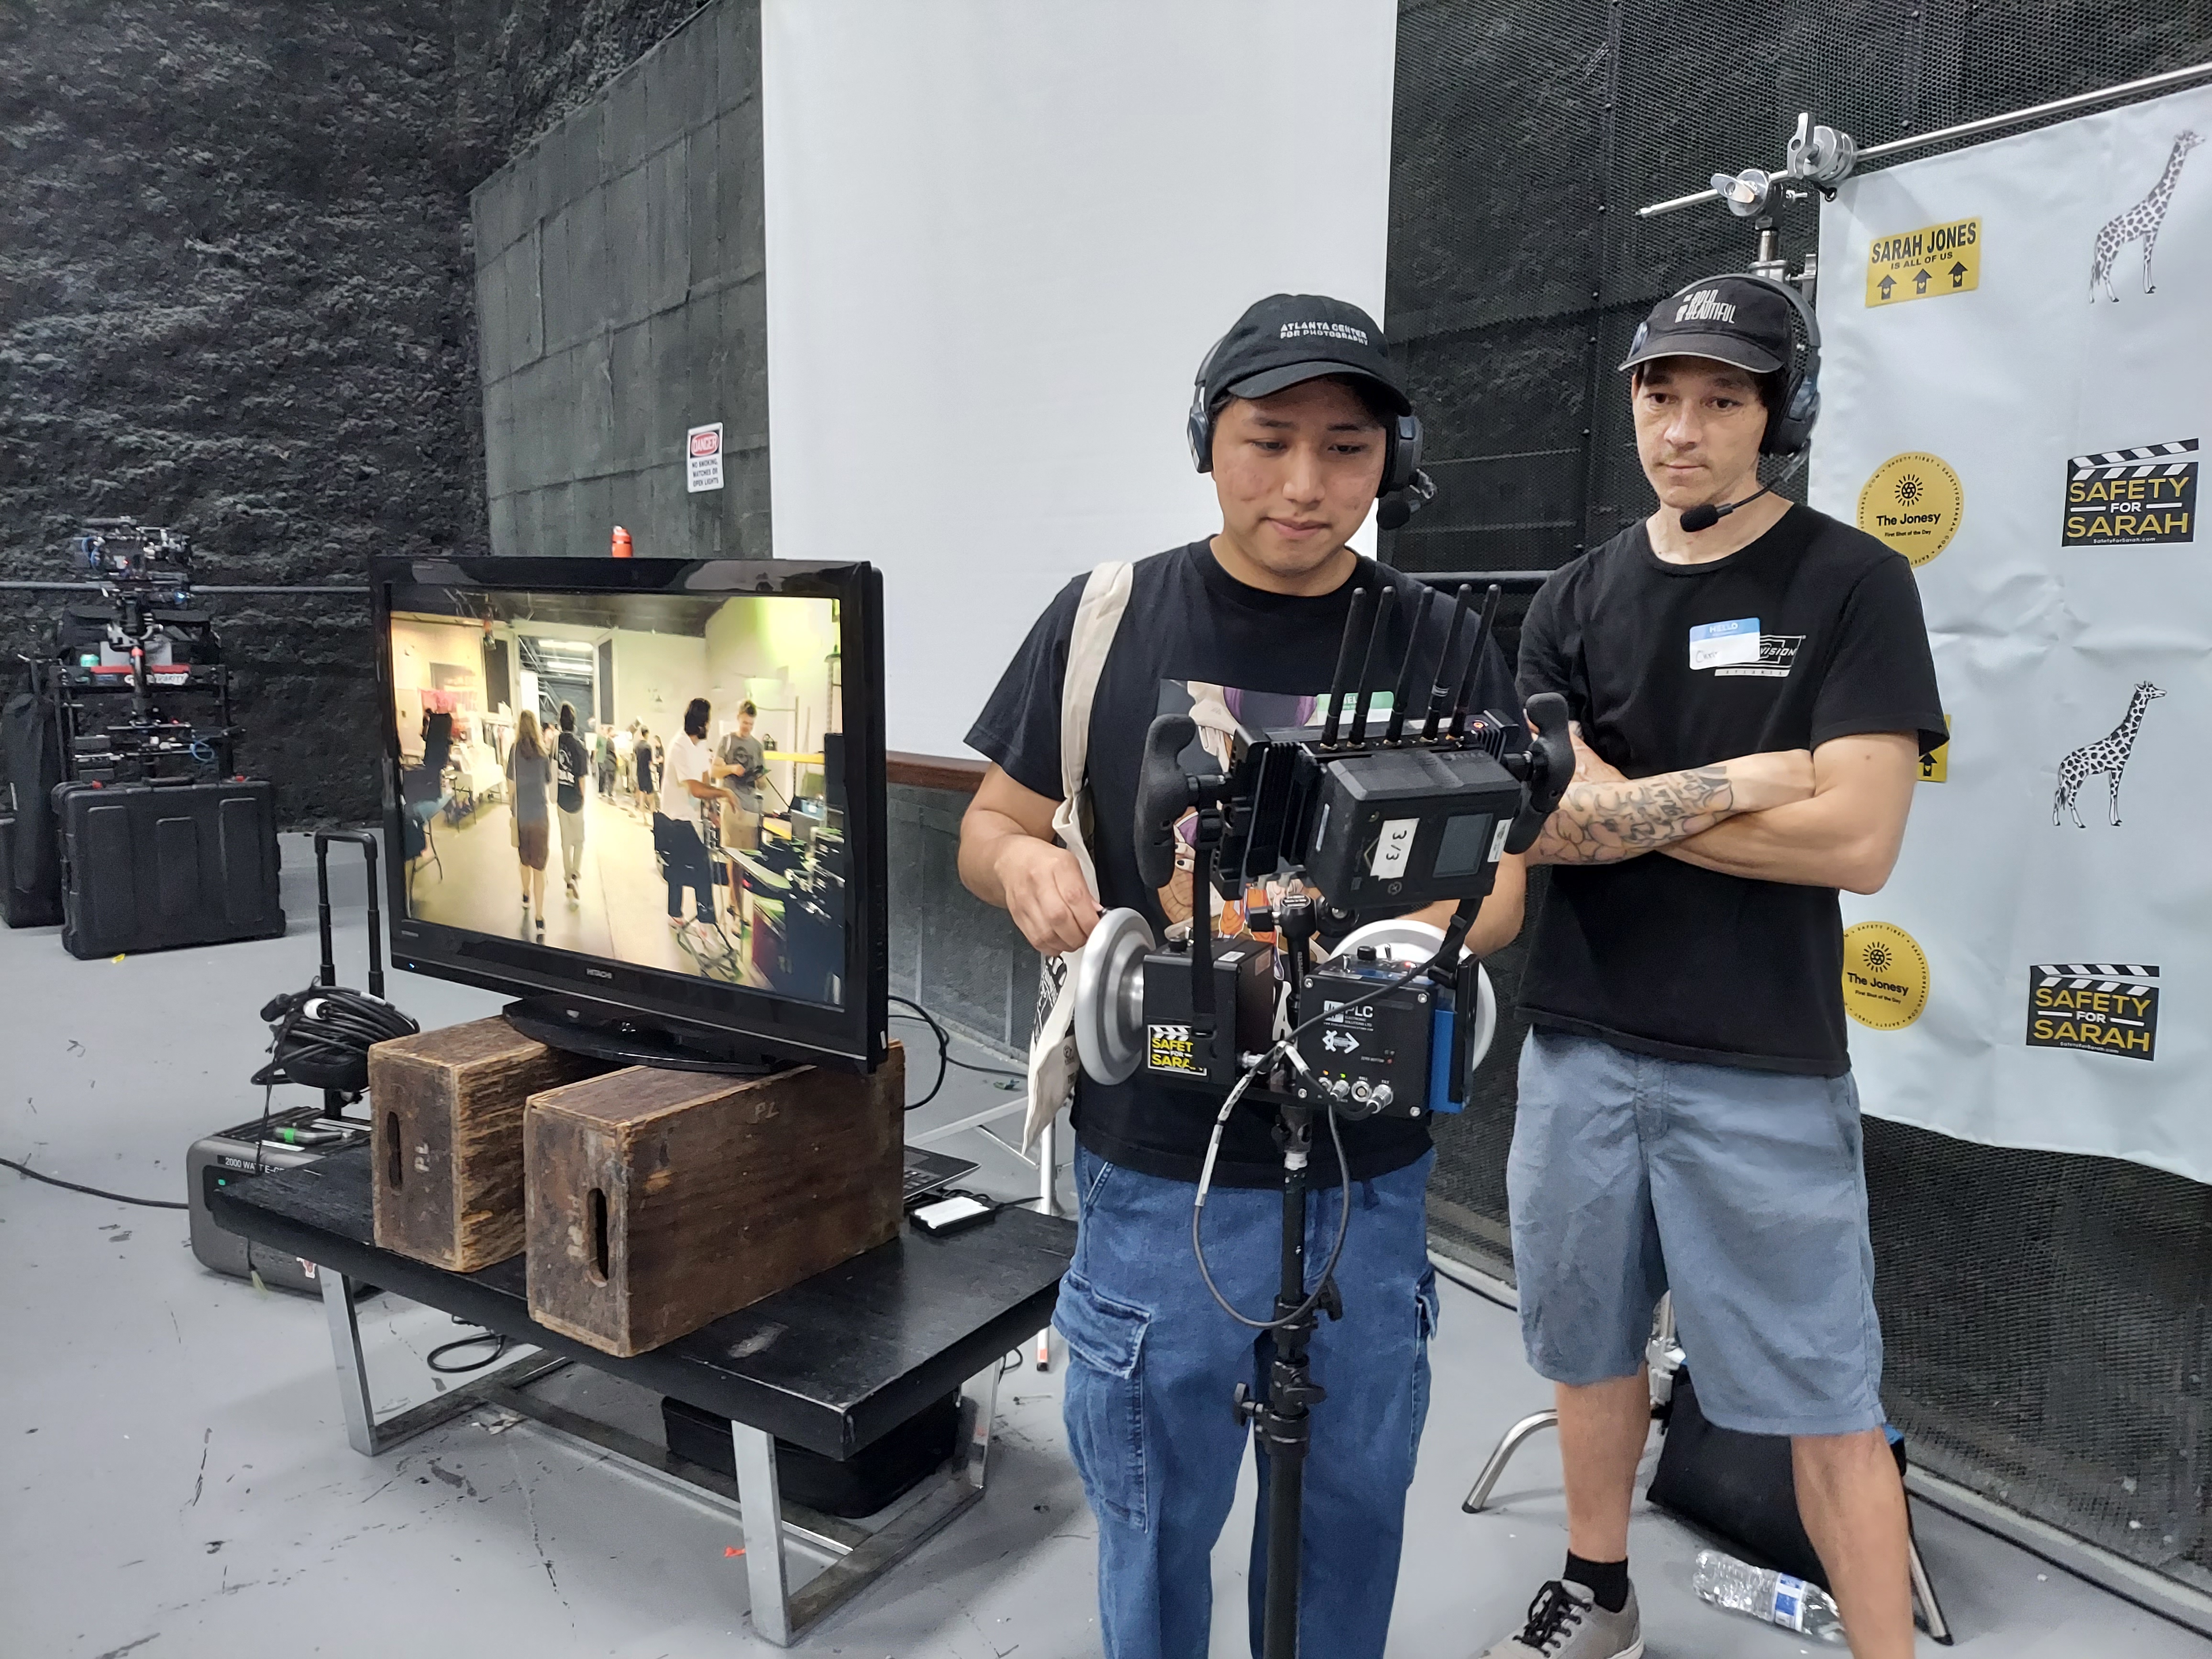
We also held demonstrations this year! As is typicaly with the film production life, we had a couple cancellations that had to be filled, and everyone who did a demonstration did an amazing job.

The demonstrations included an excellent “how to film stunts” demo with Good Slate Pictures. They also have a YouTube channel so you should definitely check out their stuff! Their YouTube is called Behind the Stunts.

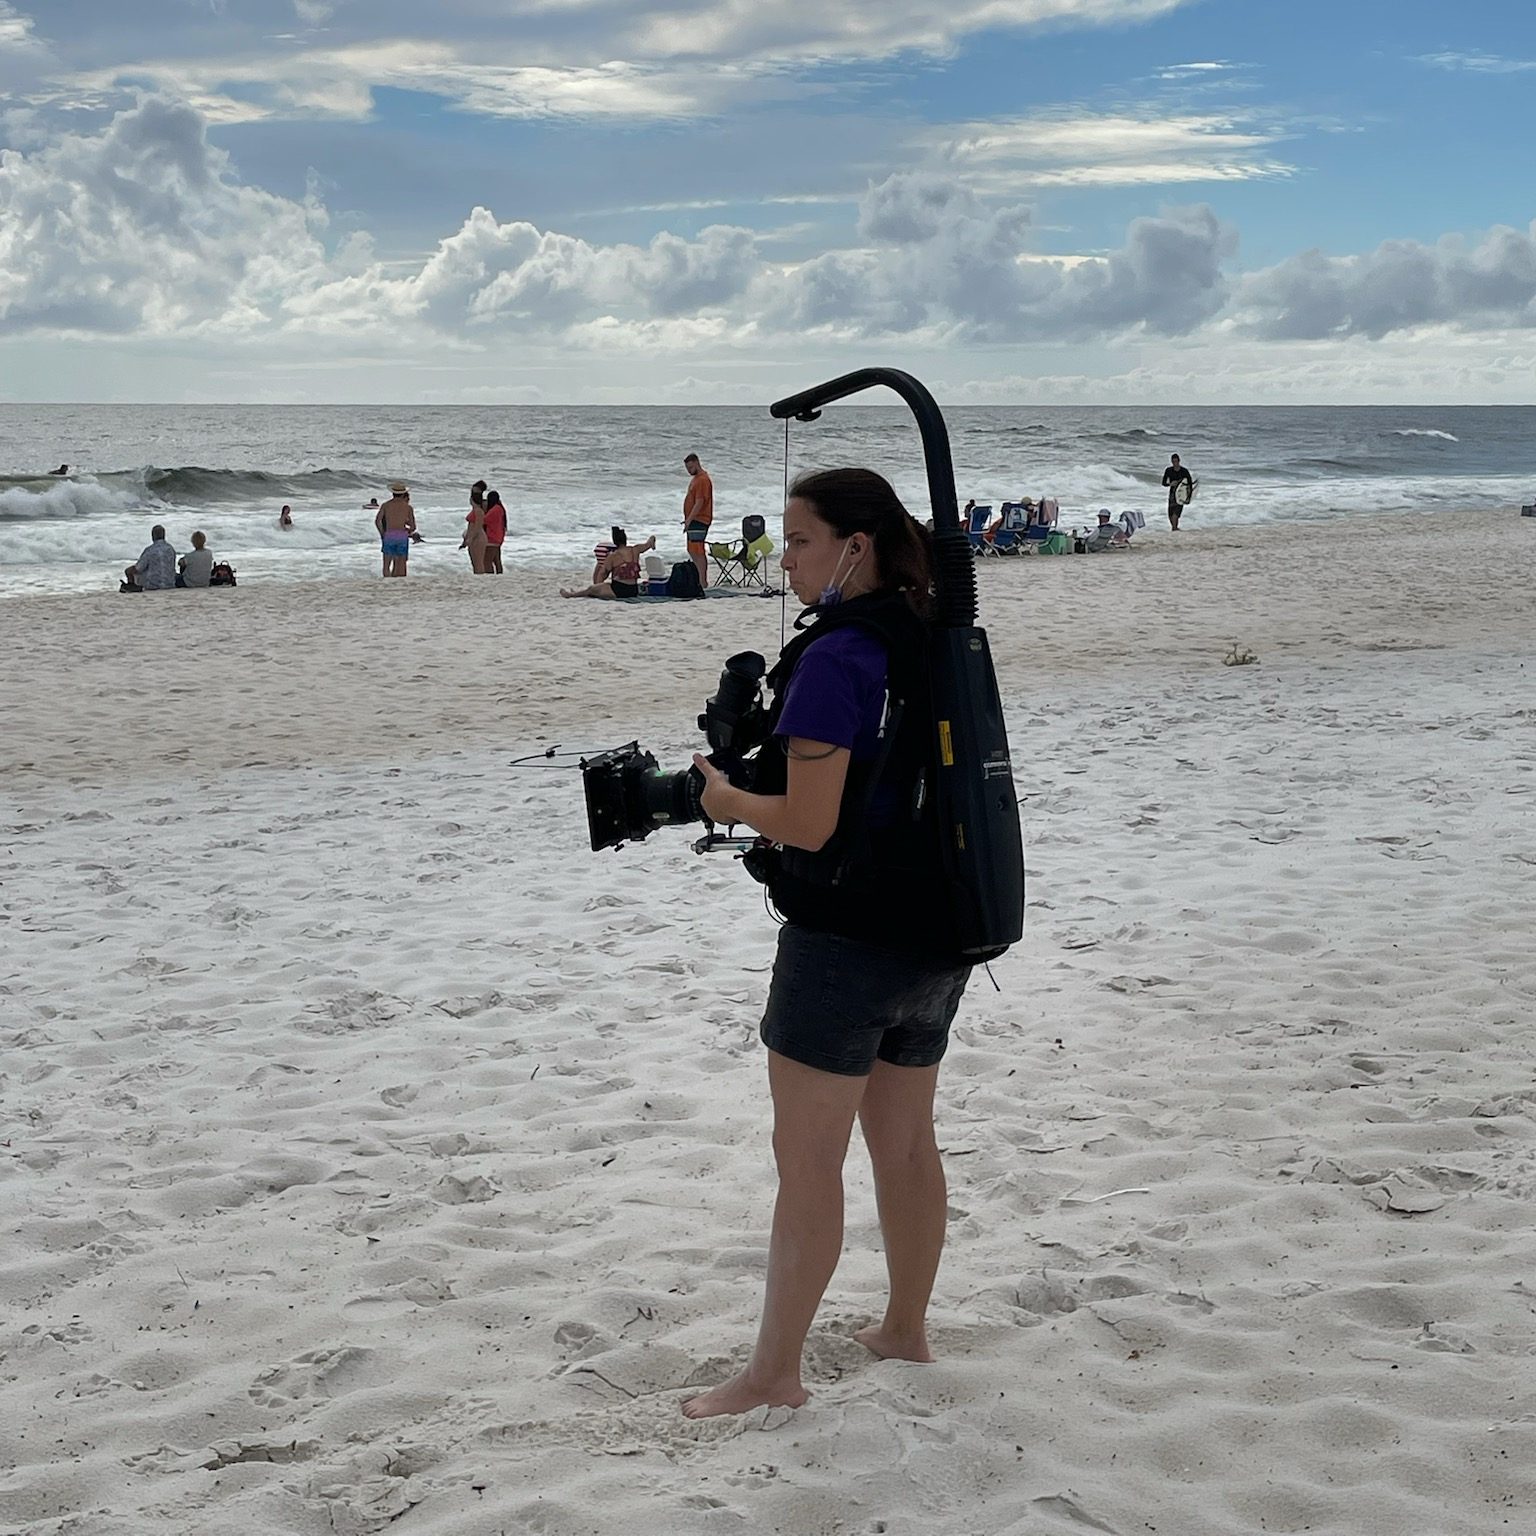
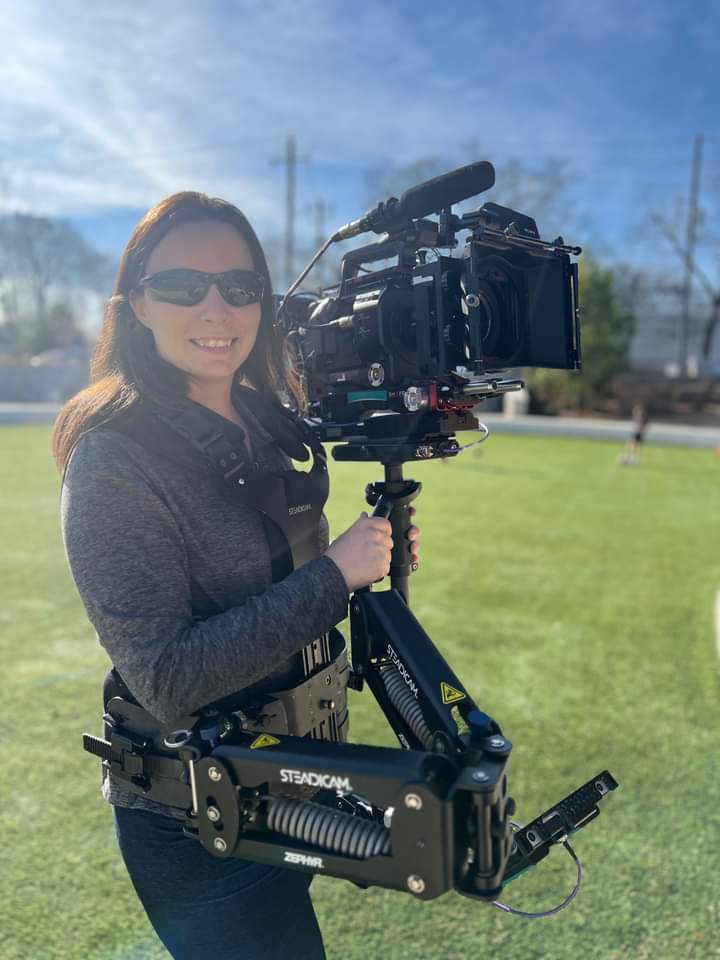
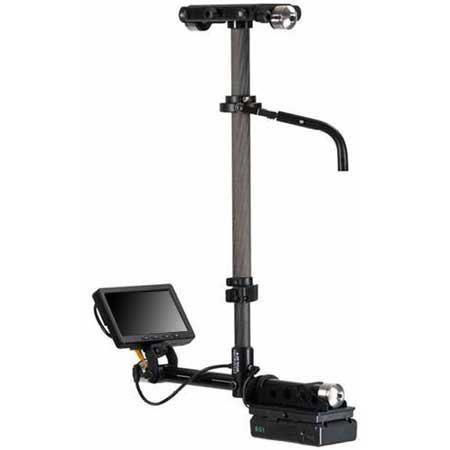
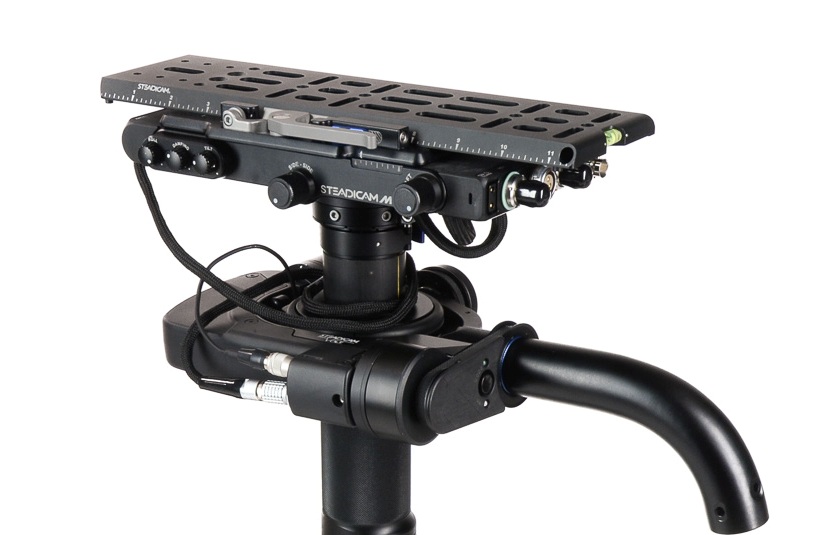
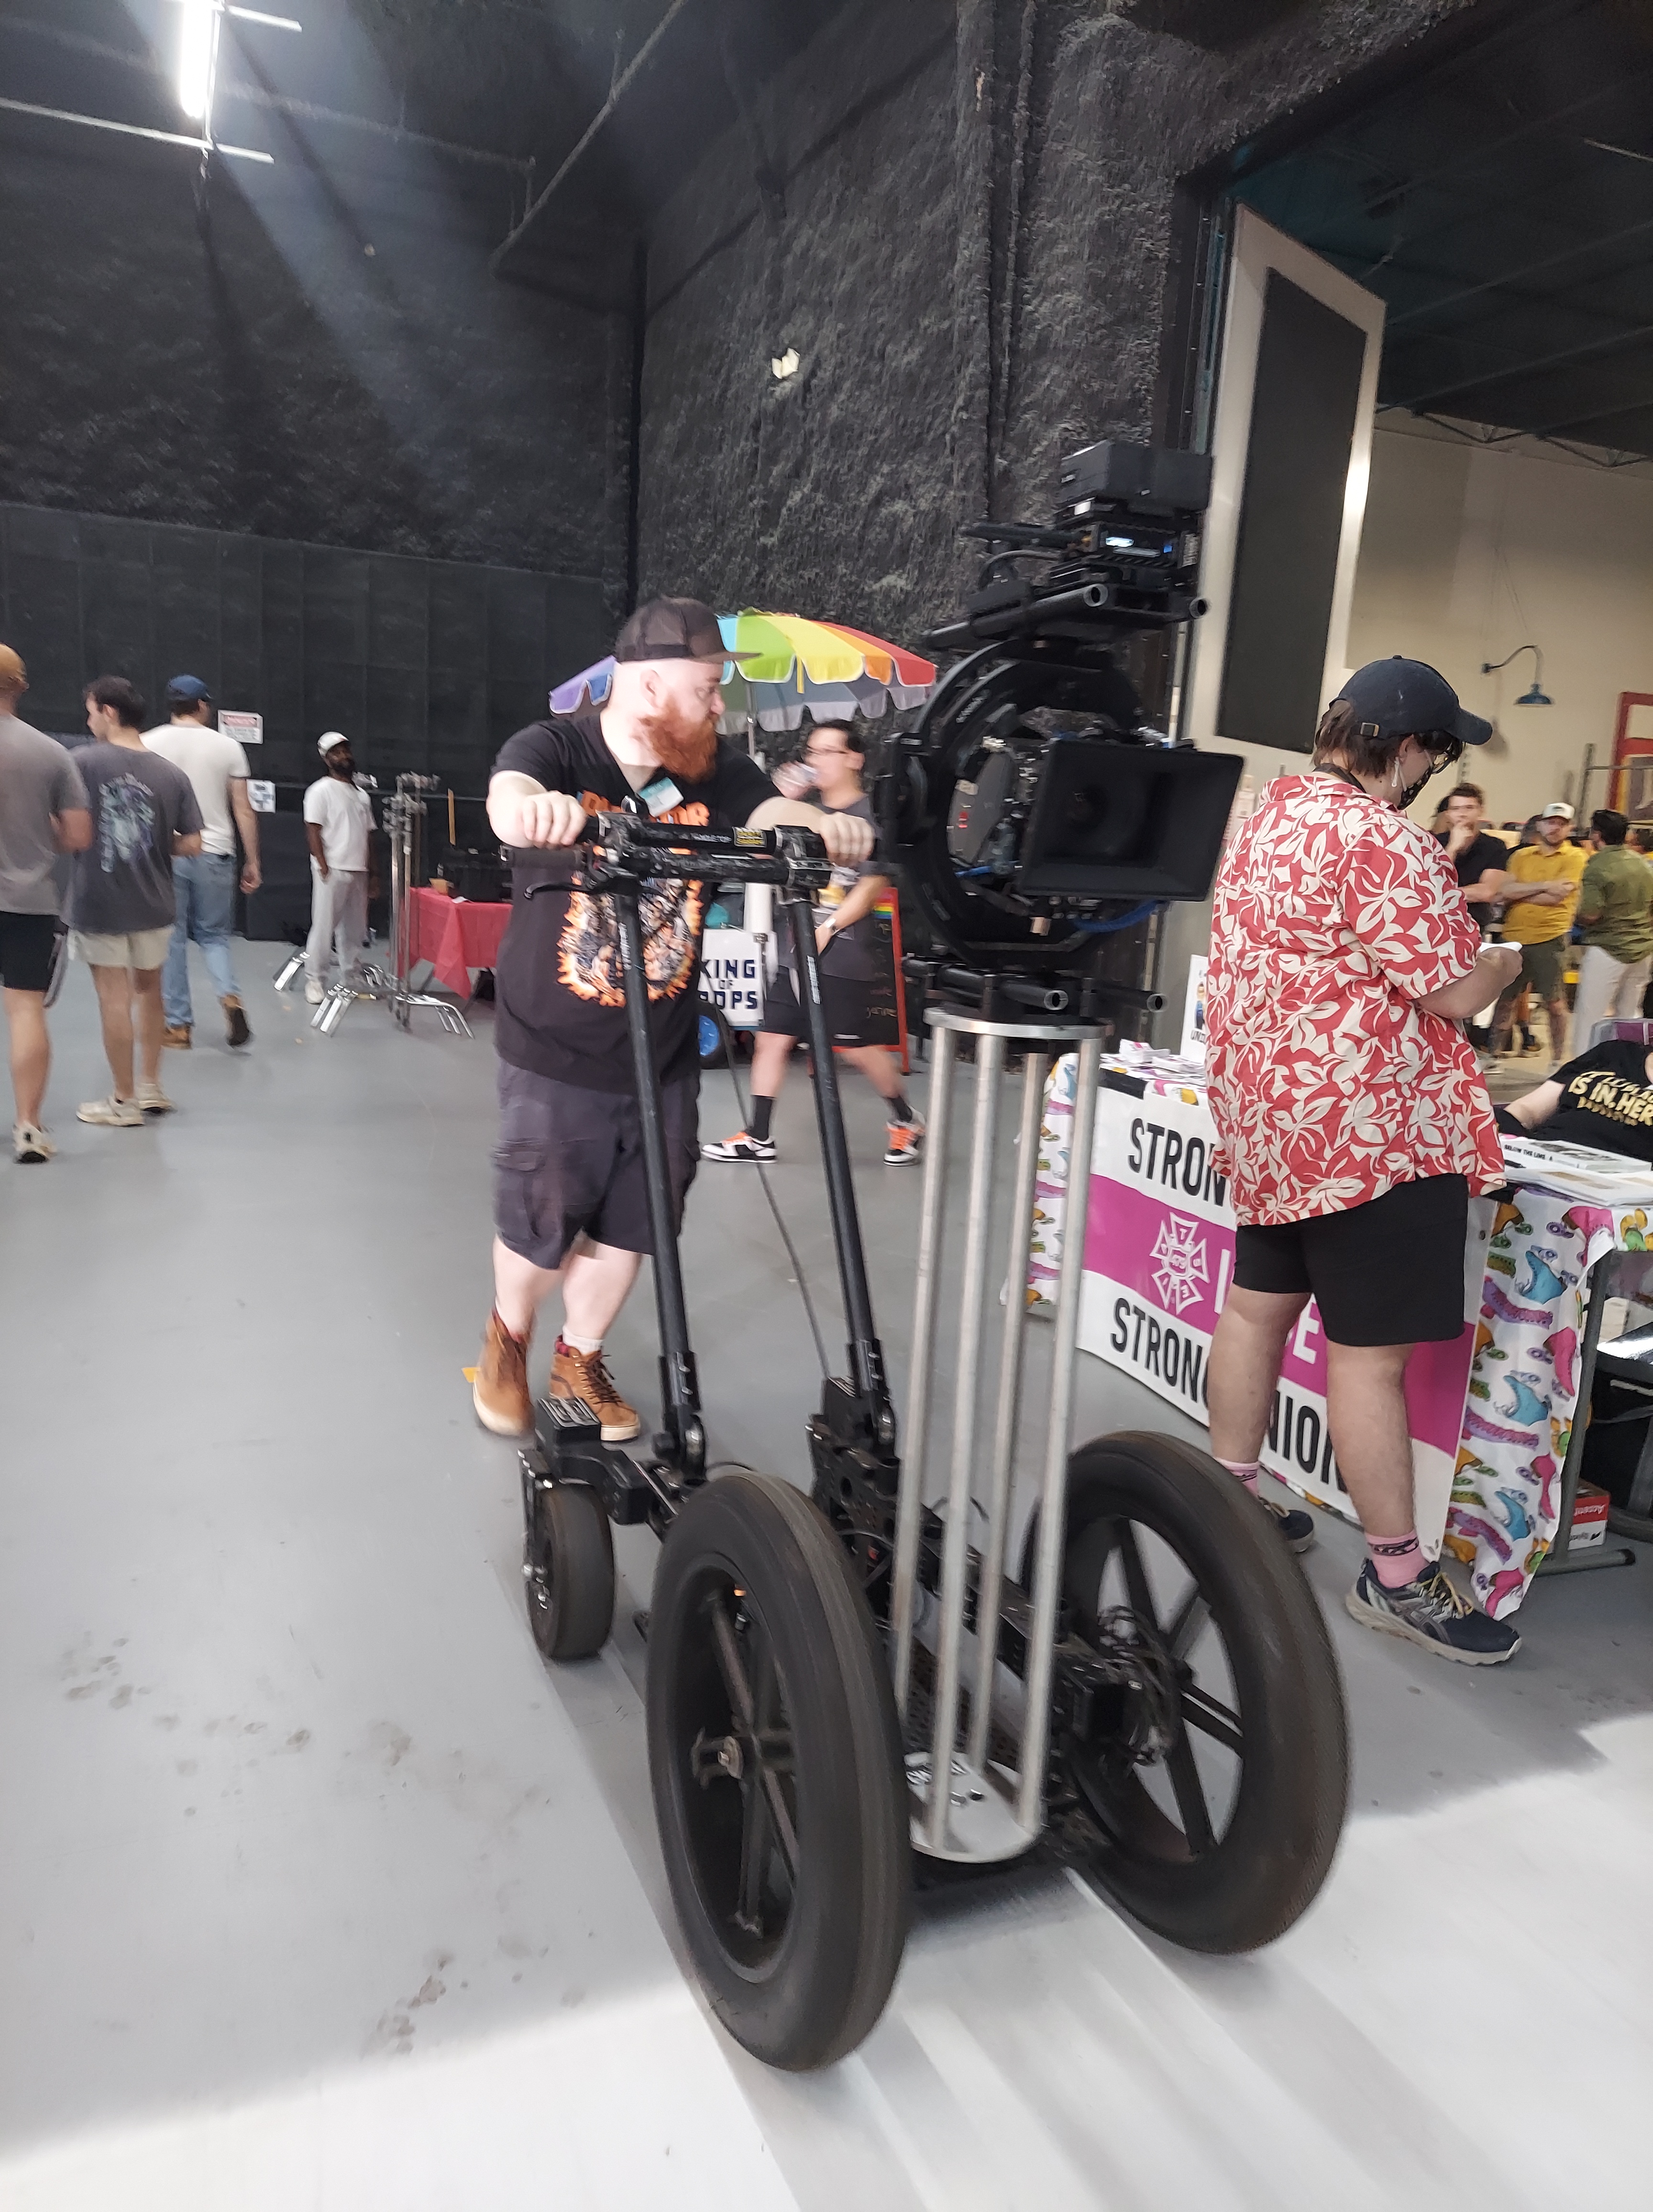
Chris Roe, ARRI Certified TRINITY Operator, Cinematographer and Steadicam Operator, brought his cool rickshaw with remote head! Folks got to try to remote head for themselves as the rickshaw roamed the space.

Kenya Campbell and Deanna Griffin did a DP/Gaffer fireside chat. It was great information to share with our audience as experience levels varied. Plus it is always great to learn new tips, tricks, and practical information to make you better at your job!

I can’t say enough about how this community came together! This, my friends, is what the film industry is all about. Working together towards a common goal. Sharing education and resources. Having a good time with your friends.

We’ll see you at the next one.

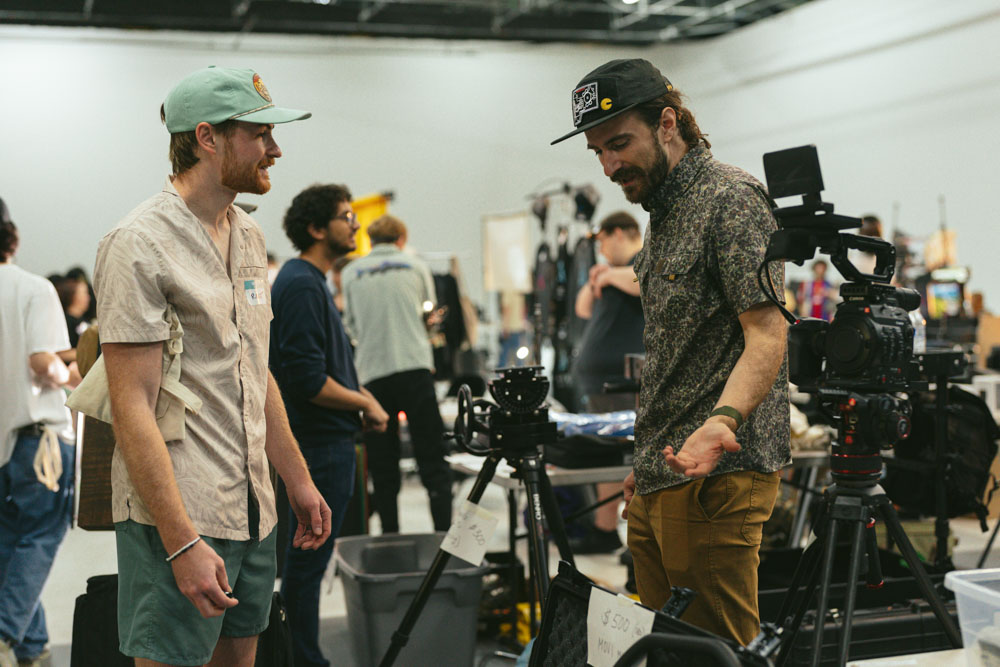
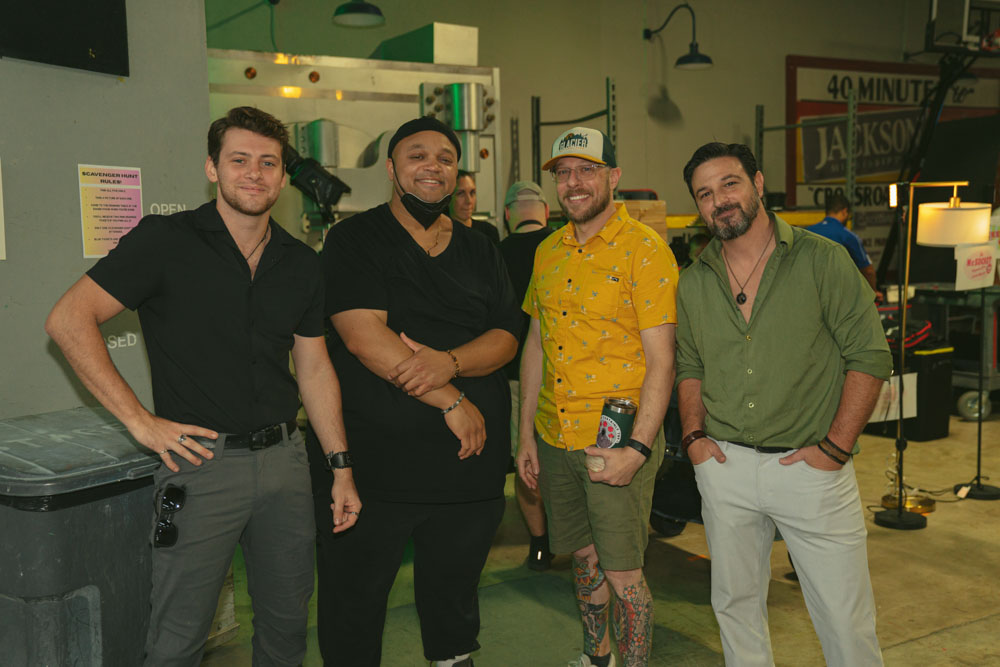
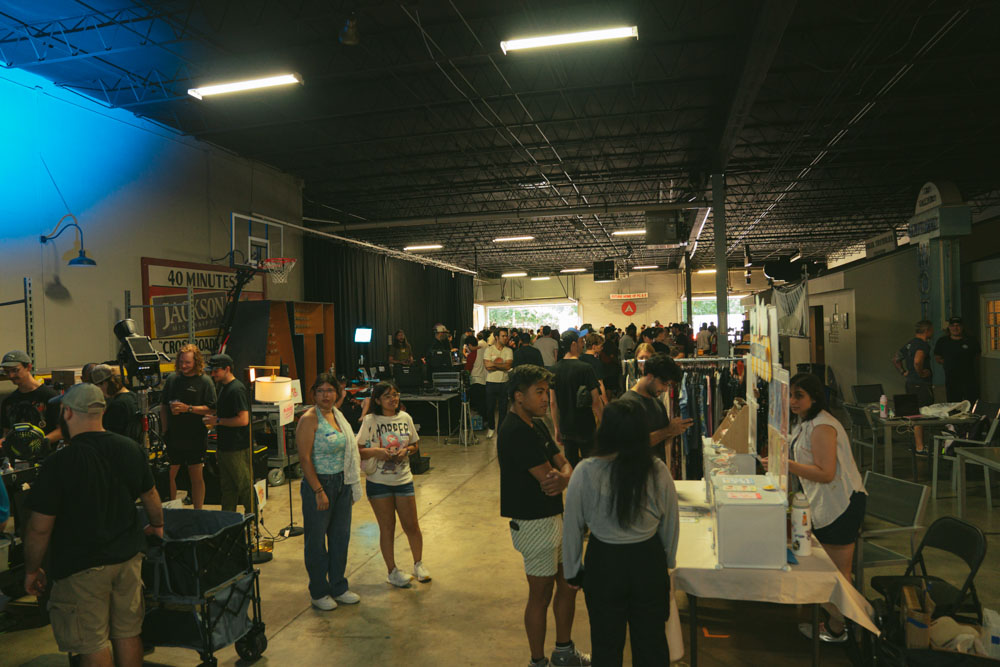
Photo Credit: Local 600 Still Photographer Josh Stringer

Not One Size Fits All – Easyrigs and You

I’ll never claim to know it all. I’m a camera operator and there’s always going to be gaps in knowledge, new technology to learn, or new techniques to master. And you too should never stop learning.

So when I entered season 3 of a reality show, I was definitely surprised when the Easyrig production provided for me just didn’t feel right.

For those not in the know yet (and that’s okay, remember what I said about learning?) – An Easyrig is a camera support system that helps reduce back strain especially when doing handheld with heavier cameras. You probably wouldn’t use one with a smaller camera, like a Lumix or A7s, but for your bigger cameras, it helps a lot to distribute the weight.

It’s sort of a vest thing – different from the Steadicam because it’s a lot softer material in the front – and it has an arm over top that carries the camera via a clip and string. Everything’s attached to a pulley system inside the hardshell on the back.

There’s straps and things to help you adjust it to your body but what I didn’t know… was that the Easyrig wasn’t one size fits all.

We started a scene in an office where a bunch of cast members were doing a meeting. It was going to be a long scene, we knew that. It would be difficult to stop and start again, so we prepared for the long haul.

But as I was operating, I felt the vest slipping lower and lower. I tightened it to the point where it was nearly suffocating, and it was still slipping. The lower portion of the vest where there was a hard point eventually rested on the top of my thigh, and I tried to push through the discomfort.

Of course, that’s when my leg began to go numb.

I kept trying to readjust my body and how I was holding the camera in order to find some relief and power through the rest of the scene. But it wasn’t working. My leg was tingling and going numb and I knew there was a problem.

I finally got on the walkie – something I try not to do during a scene unless it’s absolutely necessary – and called out to production that something was wrong and I needed to set down my cmaera.

Crickets.

Unfortunately for me, they either didn’t hear me or nobody knew who should answer. That’s a problem.

My leg was getting worse. I was probably just going to cave and set the camera down mid-scene, which was something I was loathe to do. I called over walkie again. No response. But then my DP came in and said “Hey, my B cam needs a break. We’ve got to stop now.”

And we did. I took everything off, re adjusted again, took a mini-breka, and went back into it. The rig was slightly better after the break but… it was still starting to cut into my thigh. I found myself hiking up the bottom of it just to keep going with the scene. It was rough. I knew something was wrong.

I ended up calling 16×9 Inc for help. 16×9 Inc is an authorized Easyrig dealer, and the guy on the phone (I’m so sorry I don’t remember your name) walked me through what I needed to know about Easyrig fits. We decided that the right size for me would be a different model, the Easyrig Gimbal Flexvest.

When I got the new Easyrig it was like the clouds finally parted and I could see the sun.

So now I’m the first person who will tell female and smaller-framed operators “Make sure you get the right fit. Easyrigs are not all created equally. They are not one-size-fits-all.”

Putting the Easyrig on

The Easyrig slides on sort of like an awkward, top-heavy backpack. Whenever putting on or using the Easyrig, you need to be aware of your surroundings and of the people around you. You are now taller and bulkier, plus you have a camera that could swing free and hit someone if you’re not actively controlling it.

I usually adjust the waist straps first to get the rig situated properly on my hips, then clip on the chest harness part. Tighten straps for the chest harness so it’s snug, and do the same for straps that are connecting the top to the bottom.

Test the fit by grabbing the vest and seeing if it moves. If it does, you’re not tight enough. Then also test the length of the vest by seeing if your legs can move freely up and down without hitting the bottom of the vest. If anything moves, tighten stuff up. If’s its all the way tight and things still move (especially when you put weight on it) it’s time to consider a different rig or a different method to operate the camera.

It it absolutely not worth hurting yourself to accomplish any shot.

Instructional Video

Dom from LensProToGo goes over how to fit the Easyrig on your body in this video:

Be safe while operating, friends!

Podcast update

We’ve been hard at work bringing Lights, Camera, Remake to life. We are currently up to 11 episodes on Spotify and I’m slowly uploading the episodes to Youtube as well.

We will be looking for sponsors as we grow.

In the meantime you can support us by following on your podcast streaming platform of choice and sharing the episodes or reels we put out. This is a labor of love and we enjoy sharing it with everyone. The response has been wonderful so far.

Instagram: https://www.instagram.com/lightscameraremakepodcast/

Youtube: https://www.youtube.com/@LightsCameraRemakePodcast

The Evils of the Rolling Take and Reset

Let’s dig into a pet peeve of many on set: the rolling take.

A rolling take is when you keep shooting and keep repeating the action. Like an actor walking in to a room who flubs a line and goes back to start it over again. That can be a valid reason for a rolling take. No need to re-slate and re-call action. Just try it again.

An Insert Shot: A watch being picked up and brought into the frame is a valid reason to do a series of the same action without cutting in between.

A rolling or series take might be done on a particular insert shot to get it right. Let’s say your actor needs to throw a letter to land on a desk just right. The director might ask for a series or rolling take in order to keep attempting that throw to get it the way they want. No fuss, no muss, and no wasting extra setup time to get that insert shot that you’ll see for two seconds on screen.

Directors don’t work the slate but I’ll allow this since it’s clipart.

Imagine this scenario: It’s after lunch. The Assistant Director is informing everyone for the third time that you are now an hour and a half behind on the schedule. You have several more scenes to light and shoot and somehow you have to make up a significant amount of time. Hence the anxiety that leads inexperienced directors to try shortcuts. One of those shortcuts is overusing a rolling take.

After experiencing this on a number of films, I’ve observed that green directors love to overuse the rolling take. They’re feeling the pressure and just trying to get footage in the can. The AD, meanwhile, is just trying to make their day. Now suddenly, you’re filming scene coverage as a rolling take, not cutting when you reach the end of the action, but waiting for the actor to reset and just going with it, maybe for multiple “takes.”

A rolling take going on and on is more trouble than it’s worth.

Time = Money

First, what should be obvious — you’re using up footage. This became less of a crisis when most of us went from actual film stock to digital, which is a much cheaper alternative, but digital does not mean free.

Film costs include the film stock, developing, processing, and digitizing so you can edit on a computer.

But just because you can hit “record” on a camera doesn’t mean that doesn’t cost money. Each card needs to be purchased, and you need to have enough available media to get through the day’s shooting without having to write over those cards with additional footage. Ideally, you want your DIT or media manager making backups throughout the day. That means the production also needs to purchase storage and backup storage for that media.

So let’s say you think you know the costs and you’re still cool with doing 40 minute takes instead of a few 5 minute takes. All that footage needs to be downloaded and viewed, meaning you’re paying for the media manager’s time to download that footage and make copies, as well as the editor down the line. A single 40 minute clip is just going to take longer to download and transfer. And you might be paying overtime to the media manager who is staying late dumping all that footage.

Wear and Tear on Cast/Crew

In the moment, if you abuse the rolling take, you’re quickly using up the energy reserves and physical strength of your cast and crew.

You’re also using up your camera operators and 1st ACs and boom ops and everyone doing something physical for that scene that no longer get that tiny bit of rest to reset themselves.

  • The cast has to stay in-the-moment and may get frustrated, flubbing lines more and more.
  • The boom op has to hold that boom pole and actively follow whoever is talking without getting that small break in between.
  • The camera operators might be doing handheld or Steadicam and are using up their muscles faster.
  • 1st ACs, staring at a screen for minute changes in focus, don’t get to rest their eyes.
  • Script supervisors’ notes get complicated as the same scene plays out multiple times in the same take.

When I’m doing Steadicam or handheld, my least favorite thing is a rolling take, especially if it’s long. I just need time to reset. Sometimes there’s an adjustment needed in a handgrip on a shoulder rig or I need to fix the balance on the Steadicam.

Other concerns? Using up batteries! You might be playing beat the clock with what battery you have left in the camera or on the mic packs.

Closing Thoughts

Using a series or a rolling take can be done with purpose. It’s just another tool in your kit. Abusing it can lead you to creating an uncomfortable work environment for your crew. So before you panic and decide to just “roll on everything” look at it critically and see if a rolling take is necessary or if you need to re-evaluate and be more concise with your time.

The Atlanta Film Yard Sale and Building a Film Community

Last Saturday was the Atlanta Film Community Yard Sale, and I’d like to gush about it a bit.

In a group chat, fellow camera department lady Erin Zellers made a slightly joking comment about us all getting together to have a yard sale. I did a similar event with Film Impact Georgia last year which was popular, so I heartily agreed and wanted to take part. Together, Erin, Tina Somphone and I started planning the event we had no idea would grow from a couple of folding tables on someone’s lawn to the event of the year.

The Venue

We started thinking along the lines of a traditional yard sale. Getting a group of film friends to sell their gear in one place. A lot of people seemed interested, and we realized we’d outgrow a front yard really fast. A studio rental was the ideal way to promote film in a place that shoots film while avoiding potential weather delays.

24ATL Studios, an LED Volumetric Wall Studio in Doraville, GA, took us up on our offer. Our challenge was coming up with the money for the rental. That’s where sponsorships came into play.

This image has an empty alt attribute; its file name is 24-studios-space-pic.png

Here’s a still from a short film I worked on at the studio.

Sponsors

Our sponsors ran the gamut from traditional film to grip gear to beverage companies.

  • Cinder Lighting and Grip
  • Kodak Film Lab Atlanta
  • Image Engine/Elemental
  • Guerilla Gear
  • Hammerhead Wheels
  • Atlanta Film Co.
  • Local 600
  • Plaza Theatre
  • J.R. Crickets (food truck)
  • Topo Chico
  • Fontis Water

Our sponsors provided us not just with money to rent the studio and provide for our attendees, but also gifted items as prizes and even held free giveaways. Several of them held demos at their booths if they attended, like Hammerhead Wheels giving people the opportunity to test out the wheels or Kodak with their film loading demonstrations. Image Engine and Elemental owner Marque showed the set of wheels that controlled the rig on his impressive camera car. Cinder gave away tons of free expendables to grateful attendees.

Vendors

In addition to our sponsors, we needed vendors to sell their goods! The goal was to have an event specifically catering to the film industry. Only film, photography or related gear would be allowed.

Our vendors were a mix of companies and individuals. We got a good selection of everything from digital cameras, lighting gear, sound equipment, Steadicam accessories, photo equipment and even a wardrobe seller. Next year we’d like to expand that and get some more variety in departments represented.

The Why of it All

The Atlanta Film Community Yard Sale put an emphasis on community.

This event provided a safe place for people to buy and sell their gear while putting them in touch with the companies they’d interact with in Atlanta’s Film Industry. It was also an excellent networking opportunity. So many friends and colleagues were present, but so many new faces were added too. Folks went to tables and learned about different lenses or compared favorite video monitors or went over the finer points of certain lighting equipment, getting to know their fellow filmmaking professionals and learning some things in the process.

What I was happy to see what not just the sponsor’s support, but all the film industry folks who came just to attend the event and talked about how much they enjoyed it and wanted another.

We had to contact a lot of people to get the word out about this event and also to garner the support we needed. All those supply runs and sponsorship pitches and flyer distributions illuminated what should have been obvious in the beginning – Film is a community, and we were here to help support it.

Much like an event being organized, the film industry thrives on those connections and friendships built along the way.

So long for now from the 3 Gworls.

From left, Tina Somphone, Erin Zellers, Bridget LaMonica.

Steadicam 101: Balancing and Operating

We’ve learned why we use a Steadicam…

We’ve covered what pieces make up the Steadicam…

Now it’s time to balance and actually use the thing!

Balance

A Steadicam cannot work properly if the rig is not balanced.

Again, this is a simplified version of balancing. To really learn, you gotta get your hands on a rig, or at least observe a Steadicam operator as they prep.

First of all, you need to find the center of gravity, or cg, of the camera. After the camera is built (i.e. it has all the accessories and lens you’re going to use for the shot) you can find the cg by rolling the camera body on a rail. Where the camera is balanced on that rail, mark with a piece of tape or just remember where it is.

  • The camera is placed on the sled via the cheeseplate on top.
  • The post is lengthened to the appropriate length. This is in relation to how much weight is on the camera at the top.
  • On the top stage are the adjustment knobs to move the camera right and left or front and back. This is the fine adjustment.
  • If the rig is perfectly balanced while stationary, you’ve achieved “Static balance.” If there’s time, proceed to:
  • Dynamic Balance.” Spin the post on the balancing peg and see if the camera tilts any direction. You then make corrective adjustments with the fine adjustment knobs, moving the monitor in/out and moving the battery in/out.
  • adjust the tension on the arm so the camera floats where you want it.
  • the vest is adjusted to the operator’s body so it doesn’t slip and pressure is exerted evenly across it.

Operating

Actually operating the Steadicam requires a lot of physical and internal adjustments.

The operator has to have good posture. They walk forward, smoothly, making minor adjustments as needed. They avoid accidentally cross stepping, so they don’t trip.

While the operator’s feet carry them where they need to go, their hands are busy making sure the camera is where it needs to be pointed. The left hand is on the gimbal, in charge of panning, while the right hand lives on the handle that connects to the arm, moving the rig up and down as needed.

For more in depth information about Steadicam operating, check out the Steadicam Operator’s Handbook by Jerry Holway and Laurie Hayball.

Steadicam 101: What Components Make a Steadicam

When the Steadicam operator walks on set and starts setting up their gear, it can look pretty impressive. Here’s this guy or gal with cases of specialized equipment that looks like it belongs to Robocop.

Or maybe Alien.

Contrary to this picture, Steadicams are not all that great at eradicating alien threats.

So what part is the Steadicam?

Ah, not an easy answer actually.

I’ve worked with a number of newer directors, and there’s a bit of a learning curve I often have to help with there. Sometimes I’m asked “So you have a Steadicam? What camera is on there?” And I answer, cautiously, “Whatever camera you want within the weight limit.” But then I figured out…some folks don’t know the camera is actually not part of the Steadicam. The Steadicam is the device that moves the camera around. It’s a dolly if it had feet and shock absorbers instead of wheels and rails. It’s a tripod with an ego. And it’s also not those things.

The Steadicam mainly consists of 3 major components: The Sled, The Vest and the Arm.

Pictured are parts of the Steadicam M-2.

Sled

Pictured is a Steadicam Pilot, a smaller rig for DSLR sized cameras.

The Sled is the post you see here. The camera is mounted on top, there’s a monitor at the bottom, and batteries power everything from the bottom. This is where the electronics live. There’s wires inside that travel from the top of the top stage to the very bottom where the batteries and monitor reside.

Arm

Pictured is a G-70x arm. This arm can handle 13-70lbs of weight.

The arm is really where a lot of the magic happens. The arm has sections and springs that compress or expand to lift or lower the rig with ease. The arm also isolates movement, taking away the natural bounce of a human’s walk and translating it into smooth moving video.

Vest

Two types of vests pictured above: A Fawcett Exovest and a GPI Pro vest. There are several varieties.

The Vest is where this contraption connects to a human body. The vest takes the weight and distributes it across the body. They are quite adjustable. Only in certain cases will an operator need to get a specific type of vest, due to small size or even just preference.

Let’s take a look at the top of the sled

Here’s an example of the top stage (top platform where the camera ends up being mounted). There’s a plate that goes on the very top that you screw the camera into. Adjustment knobs on the sides move that plate either left and right or front and back. This will serve in helping balance the camera.

Also on the top stage are all sorts of places to plug in wires! Several of these inputs are to get power from the battery at the bottom into the camera or to power the accessories. Why not just leave a battery on the camera when you put it up there? Well, you can, but anything you put on the Steadicam will add more weight. Sometimes, you gotta remove as much weight as possible.

You can also see the SDI inputs (pictured right, at the short end of that top stage). This is how you get the video feed from the camera to the monitor at the bottom of the sled.

The Gimbal

This is the handle that sticks out from the sled post and connects to the arm.

The gimbal is 3-axis, meaning it moves freely in three directions for pans, tilts and roll. The gimbal handle that connects to the arm is where the right hand goes, and the handgrip below on the post itself is where the left hand goes. This can be reversed for left-handed users who operate “goofy footed.”

Other Accessories

Plenty of other accessories and mounting devices enable the Steadicam operator to work in different conditions. There are mounts so they can operate from a car, more advanced gimbal technology in the form of the Volt, and things like rickshaws and the Trinity to change the possibilities of what operating can offer.

But this is an intro series and you’ll have to dig into all that when you decide you want to learn more.

Part 3: Balancing and Operating, is coming next.