
I recently led a workshop about podcasting at the local library. I thought it might be useful to go over the basics of the tech needed to record and edit a podcast. As far as coming up with the ideas and recording schedule and artwork and marketing – you’re on your own.
The Equipment
Depending on how deep you want to go into this hobby will determine how much you want to spend on the equipment to make this happen.
Basic
The simplest thing is to use your phone or computer to record. This will be the most unpolished version as the sound quality from your laptop’s built in microphone or your phone won’t be as good as a “real” microphone.
At this stage you can decide if you want to heavily edit or upload as is. Some editing is probably going to be necessary just so your sound and content is clean and organized. Nobody wants to hear you setting up your microphone or arguing with the cat who hopped on your lap. Or maybe they do. Who knows what makes good content these days?
Simple
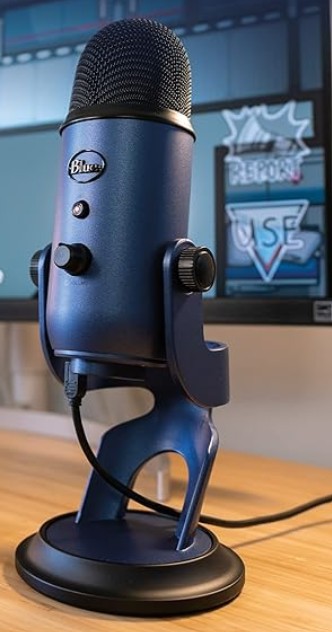
At this stage, you’re looking into getting a separate mic from your computer. This will be the consumer friendly USB style mic. Some examples below.
USB mics are fine, but the sound quality is not as good as a better (read: more expensive) mic. I liken it to a “hollow” sound.
The USB makes up for its basic sound quality with its ease of use. You simply plug it into the computer, maybe download whatever driver the computer requires to use it, and off you go.
Moderate
The XLR mic is the more professional microphone. I’ll leave it to the sound professionals to explain the numbers associated with a mic’s quality. I found this article that helps explain microphone quality.


The back of this mic is where the XLR cable plugs in.
Basically, your better microphones will be able to record clear sound with minimal background noise.
The downside is that in order to use the XLR mic with a laptop, you’re going to need a device that connects the two. You’ll notice there is no XLR input on a computer.
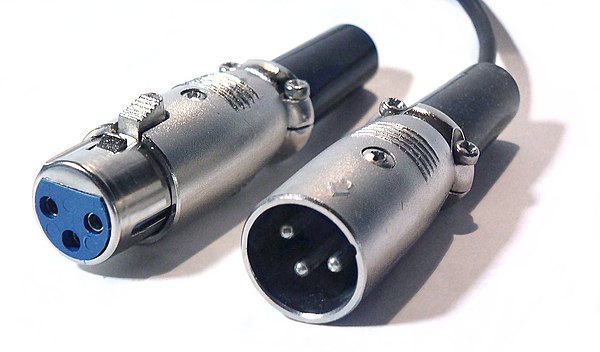
This is what an XLR cable looks like.

An example of an audio interface. Note the two plug in ports for XLR cables, the separate knobs to control levels, etc.
To use the XLR mic with a laptop, you need an interface. This device provides a place for me to plug in an XLR mic, adjust the levels, and then it goes to a USB that plugs into the computer.
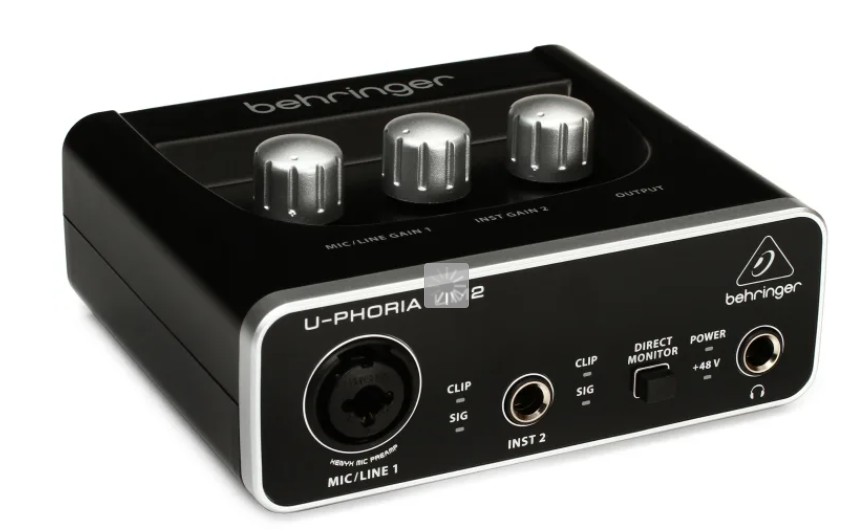
The interface I’ve been using is more suited for the music world and I’ve run into issues trying to accurately keep track of levels, so I’m on my way to the next step (The interface I was using was the Behringer UM2. Cheap at $40 but too simple for my needs now).
Advanced
Separate Audio!
The first versions I talked about involved recording directly to your computer. One of the issues I’ve noted while using my interface has been that I cannot accurately monitor audio in the computer while recording. There’s a second or so of delay. This makes it difficult for me to monitor the audio as I’m recording because I’m hearing my own voice echo back at me. It’s very disorienting.
So I’m going to the next method, the method I should have thought of first, which is recording to a separate audio recorder. In film production, we typically record separate sound. That’s why we use the slate (often mistakenly called a “clapper board”) in order to sync up the video and audio. You use the image of the slate clap with the audio in order to match up the audio and video. Of course there’s some tools out there to help you automate this process, but I’m more of a camera person than an editor. And an amateur podcaster.
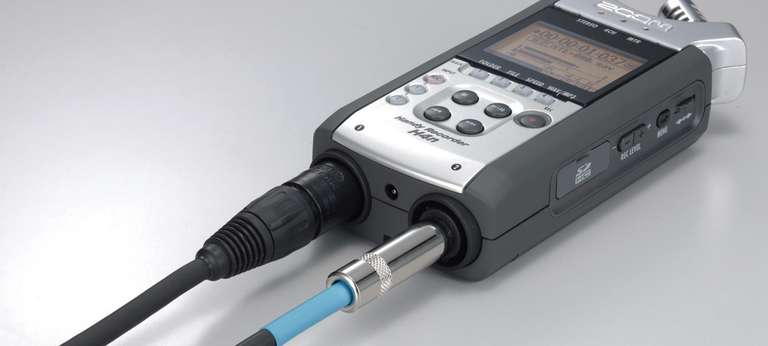
So, to record separate audio at this stage with better mics, you need a decent audio recorder. The H4n Zoom is a solid choice. It has 2 XLR inputs, so you could plug in two mics at once, plus a headphone jack to listen in and all the control over the levels. With this piece of equipment you record to an SD card.
Recording Program
If you’re recording to the computer, use whatever you have to start. There’s likely a built-in audio recorder on your computer.
I use Audacity, which is a free program. The free version doesn’t have a lot of options these days, so I only use it to record now, no editing.
There are some podcast hosting sites like Podbean, Descript and even Spotify (with Riverside) that will enable you to record and upload in the same place.
Editing Program
Use whatever you want to edit! As long as you can cut your audio files up, you’re editing.
I use the Adobe Creative Suite programs, so I’m editing my podcast in the same program I edit video in: Adobe Premiere. It’s not the typical use of that program, but I know all the hot keys, I can adjust levels and apply filters and effects, and I can export as an audio-only file. If there’s an editing program you already use that you are comfortable with, start there.
Podcast Hosting
You’ll want to upload your podcast to a host website.
There’s quite a few hosts to choose from, but some options include:
- Buzzsprout
- Podbean
- Resonate
- SoundCloud
- Audioboom
- Spotify for Creators
There’s many to choose from! Just check out this list of popular podcast hosting sites.
I’ve been using Spotify, but looking into some other options in order to extend my reach. At this time, Spotify cross posts to Spotify, Amazon and Apple.
